Wednesday, December 24, 2014

Christmas Past and Christmas Present

Stephen, Becca, David, Sarah and Laura in 1989. Mary must have been in bed sleeping since she was a baby.
Thanks to Bonnie Hunter, I've had quite the trip down Memory Lane! Bonnie set up a Holiday Linky Party on her blog and even though I usually only post once a week, I decided it might be fun to join in. After reading her message, I went around the house, snapping pictures right and left of all the quilty Christmas decorations. But then I thought it might be more fun to focus on just a few that are most meaningful in our family. And I thought I would start with Christmas stockings.

As a kid growing up, I was the oldest of 9 children and money was always in short supply at our house. I don't remember any particular disappointments at Christmas, except for our Christmas stockings. We had these large stockings that every Christmas morning were virtually empty--usually only holding a small gift, some nuts, an orange and a candy cane. When I got married and began having a family of my own, I decided that Christmas stockings would be different at our house!

In 1980, I had just given birth to our second child, Rebecca, and I wanted to make new, homemade Christmas stockings for our growing family. I found a pattern that I thought would be perfect (thanks to the internet, I found that it was a McCall's pattern #7225). I knew I would have more children and this particular pattern could be made from different fabrics for each member of the family, but still be basically the same. So that year I made 4 stockings.

Over the years, our family grew until we had all six children and with me and Charles, that made 8 stockings. I was done having children, and therefore done making stockings (or so I thought!) and got rid of the no longer necessary stocking pattern.

Although we didn't know it at the time, it was our last Christmas with all the kids at home--Sarah, Becca, Stephen, David, Laura and Mary
As our children have grown, Christmas stockings have become a very important part of our family Christmas tradition. Every year, we open our presents one by one and then everyone gets their stocking at the same time. The stockings are always stuffed, and with a variety of gifts (none of which are wrapped, by the way!)--candy, of course, crayons, socks, toothbrushes, razors (as they've gotten older), flashlights, pens and pencils, small toys or other trinkets, calendars, videos, etc. Just little things that I've picked up when I've been out shopping.

My grandson, with the next generation of stockings!
Eventually the kids grew up and began getting married and moving out on their own. Imagine my surprise when requests started coming in for stockings for spouses...and then for grandchildren! Since I no longer had my original stocking pattern, I had to trace a new one from one of the stockings we already had. My two older daughters actually made some of their own family's stockings, but when the boys got married, their wives and children needed stockings too. And so a family tradition began...and continues to this day! Becca has been working on a stocking for her 6th child--due in April--figuring she'll be too busy NEXT Christmas to make it then! This stocking will be the 25th in our family!


After 24-30 years of use, our original Christmas stocking had become a bit old and ratty-looking. So a couple of years ago, I made 4 NEW stockings for the four of us still here on Christmas morning.


The fun thing now is that I can make stockings that relate more to the interests of its owner. Can you guess what Mary's great love is?! Meanwhile, I'm still stuffing those stockings absolutely full on Christmas Eve...and everyone still looks forward to what they might find in their stockings!


In addition to making our stockings, I also eventually wanted a homemade tree skirt. Unfortunately, in looking back over our Christmas photo albums, I couldn't find any pictures of the tree skirt I ended up making because it was always covered up with all the presents for our large family. But one year as we were decorating the tree, Becca grabbed the tree skirt, wrapped it around herself and began dancing! So here is our tree skirt--on our daughter, rather than under the tree! I wasn't a quilter back in those days, what I did was cut an old sheet into a circle and then stitched leftover squares of fabric from our stockings on top of it. Then I hemmed it and added rick rack around the edges. We used that tree skirt for MANY years. But I wanted a new, NICE tree skirt (the other one was only supposed to be temporary!)


I found this pattern that I liked so much that I ended up buying it TWICE! Finally, this year I got it made and I just love it (sorry, I don't have the pattern information with me right now.) And the old tree skirt? Mary wouldn't let me toss it, so this year she's using it under HER tree!


One more "story" before we go...When I was a young married woman, my sisters, sisters-in-law, Mom and I decided to exchange homemade Christmas ornaments each year. With 10 of us exchanging ornaments, it didn't take long before we all had PLENTY of ornaments, so we quit exchanging. This particular ornament was one I made in 1989. I downscaled a pattern from a magazine for a door knob hanger, so this little "Joy" ornament is only a few inches in size. Just below it on the right is a cute button tree that one of my daughters-in-law made this year.


However, when my kids married and began decorating their own trees, they wanted more decorations, so the ornament exchange began again. This year I made these paper-pieced ornaments. They were a lot of work, so I probably won't do something quite so involved again. (The one on the left is ours--I accidentally cut the doll's hair. It reminded me of Laura and her occasional "surprise" hair cuts, so we had to keep this one!)


There were actually 4 different ornaments that I made, but I had already given the "truck" ones to their recipients. All the effort in making them became worthwhile when I found out that of all the ornaments on their tree, 17 month old Linus only wanted the "truck!" He would take it off, carry it around a while and then hang it back on the tree in another spot. Warms a grandma's heart to see her work appreciated so!


Last, but not least, here's Laura in her room (you can see two different calendars hanging on the wall, just in this one photo!) posing next to the little Christmas table topper she made, with her little battery-hungry tree sitting on it. She's so excited for Christmas to come tomorrow!

And Laura and I want to wish each of you a VERY joyous Christmas--wherever you are and whatever your circumstances, remember to take a few minutes to reflect on the true meaning of Christmas--the birth of our Savior, Jesus Christ.

Merry Christmas!

Sunday, December 21, 2014

Re-sewing and Ripping vs. Ripping and Re-sewing


I think I must have jinxed myself by writing a post about making mistakes last week. Monday morning, I got several messages from people suggesting that my blocks for Clue #3 of the Grand Illusion Mystery might be wrong. And they were right, the blocks WERE wrong! I really appreciated those who let me know of my mistake, especially so early in the week. At first I thought I might just leave the blocks as they were until seeing how critical their orientation might be in the finished quilt. But, perfectionist that I am, I really just needed to fix that mistake! Here's the first block I took apart to help me see what I had done wrong and how I would fix it.


Here's the same block, lined up correctly. You'll notice that what was wrong was that the 2 strips of squares were lined up opposite of what they should have been.

Now we all know how discouraging it is to have to stop and rip something apart and and then re-sew it. We've all been there and none of us like to do it. Even Laura hates it when she has to "un-sew!" But 120 blocks?? That's downright depressing!

First of all, ripping out all those seams, laying out all the blocks a second time and much more carefully, sewing the blocks back together (while constantly checking to be sure they're still correct) and then pressing them all--that's a very time-consuming process. I thought there had to be at least a slightly easier way, and there was!


You'll notice that if you put TWO wrong blocks together, you end up with ONE correct block in the middle. When I noticed that, it occurred to me that maybe I could sew my blocks together correctly FIRST, and THEN rip out the wrong seams.


When I had originally sewn my blocks, I made 12 sets of 10 matching blocks. So what I did first was sew each set of 10 incorrect blocks into a "row" of blocks, just as if I was putting them in a quilt.


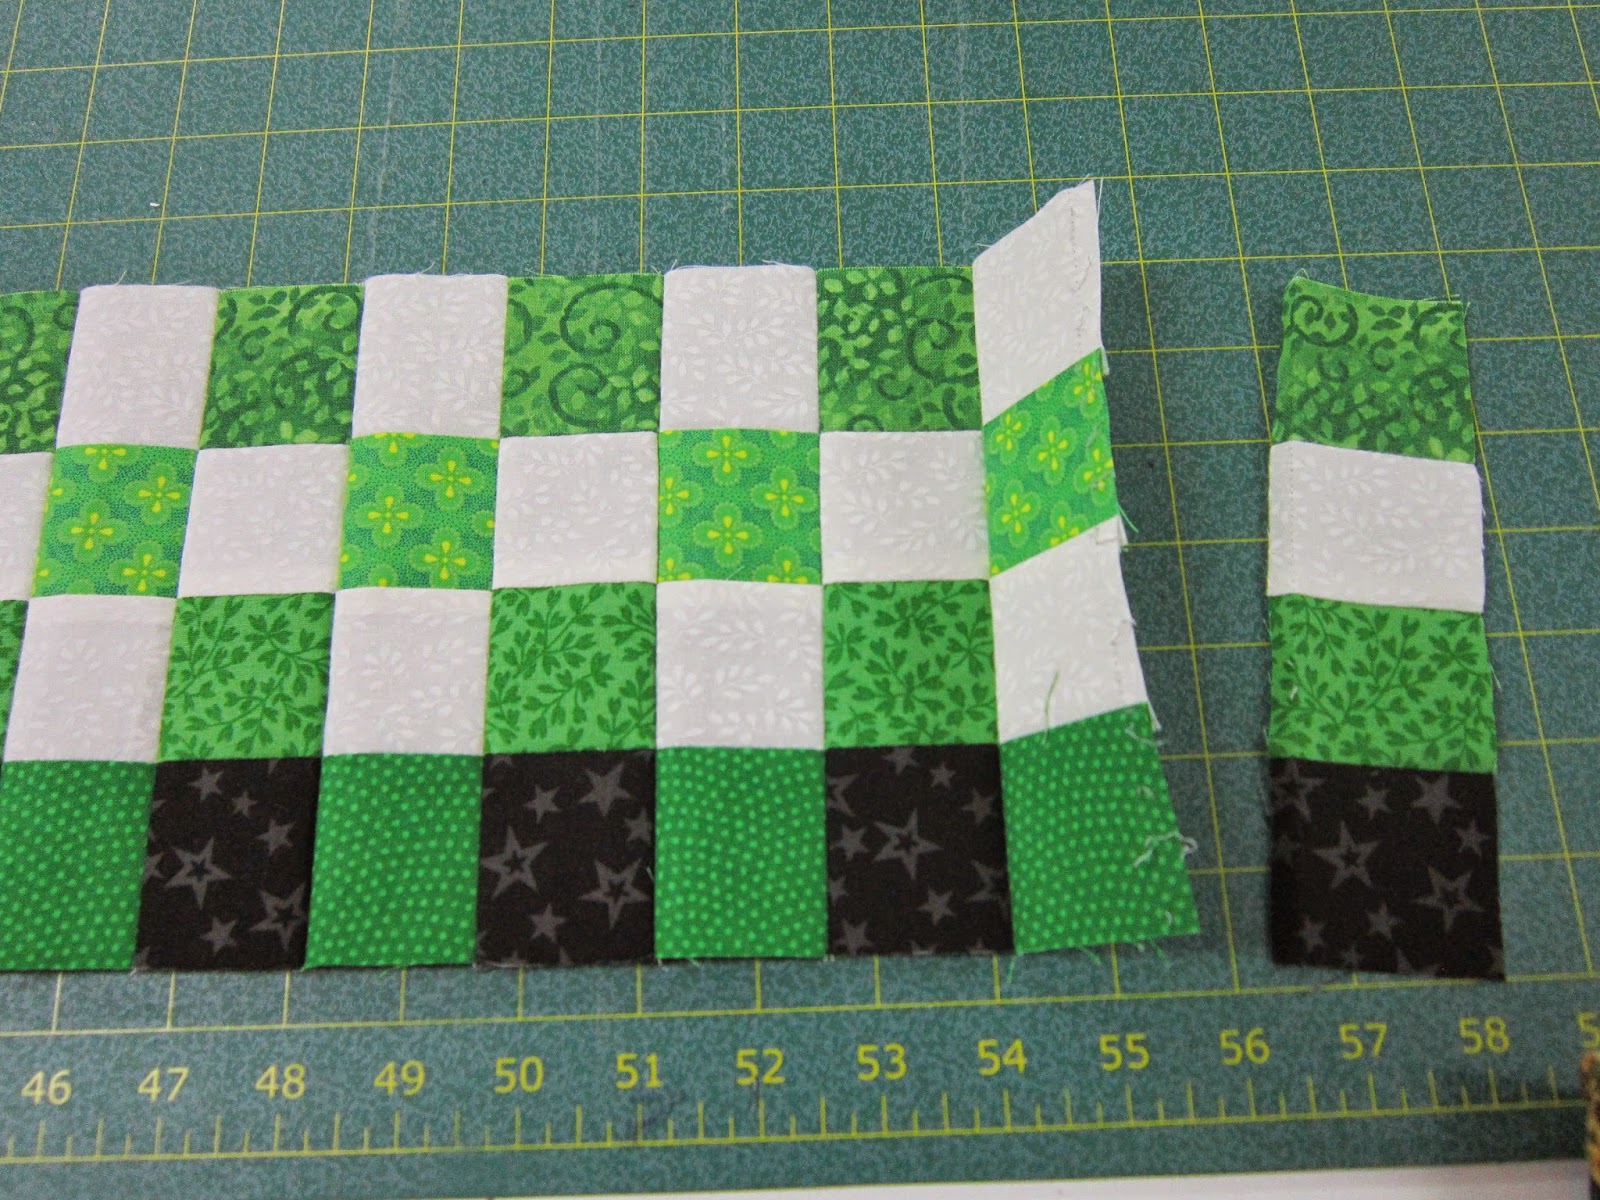
After all the "rows" were sewn together, I un-sewed the last half-block on each strip...


...and moved it to the front. You'll notice that I now have a row of correctly sewn blocks!


Another advantage of this process is that it was very quick and easy to press each strip so that all the seams were pressed correctly. At this point, I literally had all my blocks sewn together and the next challenge was the ripping!


Somehow, a regular seam ripper seemed to be too slow to quickly tackle 120 seams. I wanted something sharper that would slice those threads quickly...like a ROTARY CUTTER! I had read once where someone mentioned using a rotary cutter to rip seams and this seemed like the perfect situation for it.

I wish I had a picture to show how I did the ripping, but I had too many other things in my hands to be able to hold a camera! But what I did, was take each strip of blocks and secure the far end between my knees. Then I held the opposite end, pulling just a slight amount of tension so that the threads would pull apart as they were cut. I also used a smaller rotary cutter (maybe 28 mm?) and used it very, VERY carefully to just barely touch the threads holding the blocks together. I was amazed at how well and how fast it worked! In fact, there were times that the stitches came apart almost like unzipping a zipper. And the wonderful thing was there was NO mishap!


There were all those pesky little thread pieces and I tried using a lint roller to remove them, but it just wasn't effective. So for the time being, I left them. Three hours after starting, I had all 120 blocks, sewn CORRECTLY, pressed and ready for their place in the Mystery!


So what was Laura doing while I was frantically distracted, trying to fix my blocks? She wanted to sew (I was sewing after all), but I didn't have a project ready for her.


Laura has a few totes of fabric pieces--one of fat quarters, one of strips and other various cut pieces and one of orphan blocks. One of her favorite quilty tasks is sewing strips together, so I suggested she pull out pairs of strips and sew them together while I worked on my problem. The next morning I realized she'd sewn together at least a Jelly Roll's worth of strips!

What in the world was I going to have her do with all those pairs of strips?? We've done various quilt patterns using strips, but I didn't want to repeat one of those. I wanted something different. So I looked on Bonnie Hunter's blog and found a pattern called Dancing Nines. It uses a scrappy 9-patch with borders on 2 sides of each block. That seemed like a good one for us, so I had Laura add a 3rd strip to each of her pairs.


The next morning while she was still asleep, I cut all those sets of strips into 2.5-inch sets of 3 blocks. And knowing my daughter well, I hid a third of them because she would have sewn them ALL together into pairs. And that doesn't work very well if you're making 9-patches! She was so excited to find all those patches sitting and waiting for her to sew them together!


In fact, she insisted on having a t.v. tray table set up next to her sewing machine because I have one next to my machine. I use it to hold my leaders/enders project and I guess to her this was the same!


Laura finished her 9-patches Saturday morning while I was working on Clue #4 of Bonnie's Grand Illusion Mystery. She wanted them trimmed (I usually trim her blocks before she goes on to the next step) but I was too  busy working on my own project.


So instead, she just pulled the string of blocks away from my machine as I was sewing. She thought it was great fun...for a little while.


Then she began pulling out parts and pieces of her various projects and trying to persuade me to help her with them. She's not allowed to use a rotary cutter, but she had laid it and a ruler here with some strips to try to get me to cut them for her!


Instead, I found a bag of Dresden plate spokes or blades (Laura LOVES Dresdens!) and just let her randomly sew them together. She was thrilled!


She even hand-stitched them onto a background. Her stitches look terrible, but she doesn't care, so neither do I!


While all this was going on, I still managed to work on my blocks for Clue #4. (Linky party at Bonnie's blog is here but won't be active until Monday morning.) There are 80 blocks, but done in 2 different settings. Believe me, I checked, double-checked, triple-checked and more to make sure these were correct!

There's been a lot more going on around here, mostly Christmas-related, so I won't reveal anything, just in case any of my kids see this blog. But once Christmas is over, I'll show all the little projects Laura and I have been working on and will be working on, since we always have to...Get More Done!

Oh and since this will be my last post before Christmas, I want to wish everyone who reads this a very wonderful and joyous Christmas and holiday season!

Sunday, December 14, 2014

Learning from your MISTAKES!


First of all, this particular project isn't what I meant by mistakes--fortunately it turned out just about as perfectly as I had hoped! This was from a "Tickle those Ivories" tutorial for the College Days Blog Hop, done by Thimblemouse & Spouse. When I saw it, I fell in love with it and wanted to make one. Well, the pattern actually makes two, which was even better! I decided I would make one for myself and one for my piano teacher.

The project isn't difficult, but with all those straight keys, it is VERY exacting. And my greatest challenge was figuring how to quilt it. I finally decided to just stitch-in-the-ditch all around and between the keys and just did some stippling over the rest of it. I have this antique music cabinet I found in a second-hand shop and it was the perfect topper for it!


Now...about mistakes!  A couple of weeks ago I showed the rows I had completed of Julie Cefalu's Nordic Mini QAL. What wasn't obvious from the photo was that the row of stars was a little wider than the other rows and I'm not exactly sure why. My first mistake was in not going back and looking at the directions to see where I might have messed up to make that row wider!

This picture here isn't very accurate because the wall hanging IS perfectly square, but that wasn't the big mistake. When I sewed the rows together, I could have easily made some adjustments to that middle row. Instead, I decided to try and EASE the wider row to fit with the narrower rows above and below. Let me tell you that that does NOT work when there is about a half-inch or more of excess! It distorted the whole project so that it looks kind of "crooked." You can't really tell it from a photograph but you CAN see that there are some points missing and other places that aren't quite what they should be! Lesson learned--FIX the problem BEFORE assembling the project!


I made a similar, but not exactly the same mistake in this project. (BTW, this project came from page 66 of the Nov/Dec 2014 issue of McCall's Quilting.) I should have cut the black background fabric a bit larger and then trimmed it to size after applying the applique. That section was ALSO smaller than the surrounding borders and AGAIN, I tried easing it in. (I guess I'm a little slow in learning!) Anyway, if you look at the top left corner, you can see that it's not exactly square there and that's because of the stretching I did to ease in the bottom of it.

Now obviously, neither of these are really MAJOR mistakes (thank goodness!) but they ARE mistakes and I generally try to learn from my mistakes and not repeat them in the future. Hopefully I will remember and actually do better next time!


This was another project that I made this week, start to finish. It was quite quick and easy and NO mistakes! I wanted a cute table topper for the table in my entry and this was another project that came from Julie Cefalu, the Crafty Quilter. I modified the pattern slightly to fit my table and I love how it turned out! Thanks, Julie!


I normally try to work on projects in batches, so as I finish the piecing of one project, I'll set it aside and work on another, and then another. Then I'll spend a few days getting all the quilting done. And finally, Laura and I will watch movies while I hand sew several bindings. And that's what happened this week; I finished quilting all the above projects and then Laura and I spent an afternoon watching movies on Netflix while we stitched on bindings.


Here's Laura with one of her finished Christmas table toppers. She put it on a table in her room and set a miniature Christmas tree on top of it.


On another note, Bonnie Hunter presented us with the 3rd clue to her Grand Illusion Mystery on Friday. This one was the easiest and quickest so far. We had to cut fabric strips, sew fabric strips and then cut again. My favorite tool for cutting is the Shape Cut Plus by June Tailor (no affiliation or anything here). It has slots for cutting every half-inch and cuts a piece of fabric up to 12"x18", but of course you can fold your fabric and cut even more at once. It works great for cutting fat quarters! I've found it to be VERY accurate and I use it all the time. So it was the perfect tool for this week's clue.


I cut all my fabric strips on Friday, then sewed, cut some more and did all my final sewing on Saturday. Not counting the time to do the original cutting, I figured these blocks took about 5 hours to make. That was two hours less than last week's clue! And the next two weeks should be even quicker, according to Bonnie. I'm linking to her Mystery Monday Link-Up.


For some non-quilty news, our church had our annual Christmas social Friday night. We usually have a potluck dinner followed by entertainment from various members of the congregation. At the end, instead of Santa Claus coming to visit, we usually have the "3 Wise Men." This year, my son and my son-in-law were both asked to be Wise Men, probably because of the beards. That's my son-in-law on the far left and my son (the tall one) on the right. (And my granddaughter, Jennifer in the wheel chair in the background on the left.)


Our family has 3 birthdays in December and this week Madison turned 2 and we all went to Chuck E. Cheese to celebrate. I have to admit that Chuck E. Cheese is NOT one of my favorite places to go, but Laura just loves it (maybe partly because she can't hear all the noise!) She gets her cup of tokens and she's GONE! Apparently she's figured out how to play most of the games and I just followed her around and took a few pictures.


Years ago I used to make gingerbread houses from real gingerbread every year. We would invite the extended family over to celebrate Laura's birthday at the beginning of December and we would all decorate gingerbread houses and everyone would either take theirs home or give them to someone special. Making gingerbread houses is a LOT of work, and I don't do that anymore (although we often still make them out of graham crackers for the grandkids). But Laura always enjoyed decorating the houses (and snacking on frosting and candies!!) so now I just buy her a gingerbread house kit every year for her birthday. I get it assembled for her and let the frosting dry and then she slathers it with more frosting and covers it with candy.

This is such a busy, but special time of year. I've tried to limit myself on major projects as we get closer to Christmas. Other than Bonnie's mystery, I just have a few quick gifts I want to make, but most importantly, I want to take time to spend with family and friends and enjoy the season. So occasionally, it's better to...Get LESS Done!

Sunday, December 7, 2014

The Mystery Continues...and BIG Events Happen!


Before the Grand Illusion Mystery began, I decided that if I participated, I would do my best to complete each clue as it was given each week. I figured that it would be easier to KEEP up, than to have to CATCH up. By Wednesday of this past week, I finally finished all of the pieces for the first clue. However, I felt like the Mystery was almost all I was working on!

So when the second clue came out on Friday, I got very busy. I used the second method Bonnie gave, printing out the diamond-shaped template and taping it to the Easy Angle ruler. I stacked my strips 4-high and began cutting. Then I pulled out my Accuquilt Go! cutter and cut out all of the triangles. Laura sometimes cranked the cutter for me, but mostly she just stacked and organized the pieces.


I got about 10 blocks made of the second clue Friday evening, just to see if everything went together as it should and was pleased to find that they were fairly close to perfect! Then on Saturday, I sewed almost nonstop until ALL the blocks were finished! It was a marathon sewing session--I figured it took about 7 hours (1 hour per 15 blocks) to get them all completed. It will be nice to be able to link them to Bonnie's Link-Up on Monday. Now this week I can sew without the pressure of more blocks needing to be sewn--at least until next Friday!

Mary, Laura and a friend
The big event of this past week was of course, LAURA'S BIRTHDAY!! She turned 28 on Thursday, but kept confusing the date with the number of years and said she was 4!

Becca and Charles (Dad)

Every year on Laura's birthday, our daughter, Rebecca plans a cookie baking activity with lots of friends from church. The goodies are really a gift for Charles--after the friends take a few treats home, we package up the rest onto plates and then Charles takes them to give to neighbors, friends and people we care about. The activity is scheduled on Laura's birthday so that she will be surrounded by friends and people she loves on her most favorite holiday!


You can tell Laura has become a true quilter--she was as excited about the spools of thread she received as just about anything else!


Laura goes to bed when we do, but doesn't normally wake up in the mornings until 1-2 hours after we've gotten up. I've had some projects I wanted to make for her and I didn't want her to see them. So I started getting up early each morning to work on them. In fact, I've been enjoying having that time to sew ALONE so much, that I've continued doing it everyday, regardless of what I'm working on. I made Laura's birthday pincushion during those morning hours and this week I made her this calendar cozy for a Christmas gift.

Laura LOVES calendars! She probably has a dozen of them hanging and displayed in her room--magnetic calendars, dry-erase calendars, calendars from every business in town and page-a-day calendars. Laura can't tell time, but she CAN tell what day it is, so she wears a watch, but it has to be one that shows the date. Same with the clock in her room. The first of every month is an exciting time for her, as we change all the calendars in the house to a new month! So I figured this calendar cozy would be something she would love to receive.

Gwen performing, with Piano Teacher looking on

On an entirely different and non-quilting note, on Saturday I participated in my 3rd piano recital. I love the piece I played, a medley of "Joseph Dearest, Joseph Mine," "Still, Still, Still" and "Rocking Carol." However, I decided that this will probably be the last time I participate in a recital. I don't mind playing accompaniment at church or while people are singing (although that still makes me plenty nervous!), but performing just makes me too stressed. At my age, I'll simply continue to practice 1-2 hours a day and learn new pieces for my own personal pleasure rather than to entertain an audience.

How's this for a small project?

We're nearing the end of another year and it's time to be thinking about goals for next year. I always begin my goal setting process by reviewing the accomplishments of the previous year. Sometimes it seems like I didn't do much, but then when I look more closely, it can be surprising what really got done! My big surprise from looking back over 2014 was how few large projects I made. The only actual quilt I made from start to finish was the brown chevron quilt for my son and his wife.

I quilted a handful of tops, but except for those, almost all my projects this year were small--table toppers/runners, pillows (lots of those), wall hangings (lots of those too), place mats, purses and bags, sewing machine covers, curtains, and a few lowly pincushions! I wondered why my shelves and bins of fabric were getting so full--I've only been using bits and pieces of them, but at the same time, I've been buying more! So some of my major goals for 2015 will be to 1) NOT buy more fabric, and 2) make lots more large projects and use the fabric I've already got.


Laura, on the other hand, has finished about 5 lap to twin size quilts this year. I'm certain I will be enlisting her help in 2015 in my attempts to bust my stash! And with that said, it's time for me to get busy...and Get More Done!