Tuesday, April 9, 2013

Catching Up and Dealing with SCRAPS!

I haven't posted in a while, partly due to taking a bit of a break after working with Laura to complete her quilt, but also partly to try and get some things done here around the house. In the meanwhile, I also had to get a new computer (my guru-son told me my other one had some fatal illness!) and I've been learning to use a different keyboard and operating system.

Laura and I have visited a few quilt shops lately and at one of them I found this really cute pattern for a paper-pieced wall hanging. These are the blocks--I had to embroider the stems onto the cherries.

Here's the finished wall hanging! The colors aren't nearly as bright here as they are in real life. I was able to find some more of that yellow background fabric and I also found some in red. I'm going to use those to make some curtains for my kitchen. I also want to make a cover for my kitchenaid mixer and I'll probably put another one of the paper-pieced fruits on the front of it. I can't wait!

I had this piece that I had hand-appliqued as part of an online class that I took some years ago. I really didn't care much for it, but figured that I might as well do something with it. A pillow seemed like a good choice. Just as I was starting to work on it, I thought that I really ought to quilt it first. So I added batting and a piece of muslin and  did some free-motion quilting, sort of outlining all the pieces. But then it seemed to need something more.


 I've been watching some Craftsy classes on free-motion quilting and decided that I would add some feathers. Since I didn't really care that much about this piece, I went ahead and just winged it! I didn't draw any guidelines or anything, just looked at it and thought about what I should do and did it!

The quilting is far from perfect, but it's not bad. The end result is that now I have a finished pillow that I absolutely love! Who would have guessed?!

Now...about SCRAPS! We all have them and we seem to have sort of a love/hate relationship with them. I know I sure have! Well, I absolutely LOVE being organized and scrap control was my nemesis. Most of you probably know Bonnie Hunter. She has a "Scrap Users' System." When I first heard of her system, I got all excited and just knew this was the direction for me! All that organization; what wasn't there to love?!

So for several years, I would cut my scraps into strips and blocks. But the problem was, I didn't cut them ALL up. After a project was finished, I was ready for a break or to move on to the next project, not having to spend more time cutting up all the leftovers into little bitty pieces. Besides, some of those scraps were big...and what if I needed a BIG scrap? But I also wasn't really using them either.

This year I decided was the year I would finally get all my scraps cut into pieces and get them ORGANIZED. I thought that the best way to do that would be to go along with the colors for each month on ScrapHappy Saturday. I had taken a picture of MY scrap-saving system--a large laundry basket full of all my scraps--but it has disappeared. However, I'm sure you can probably look at your own pile of scraps and get an idea of what I was dealing with!


I think January's ScrapHappy color was pink and I had a drawer of 2.5-inch pink and red strips (this was NOT how it looked--this was AFTER all my cutting and organizing! I don't know where that orange came from!), so I figured I would work on pink and red at the same time. I pulled all the pink and red scraps from my laundry basket and then spent an entire day cutting them into the following sizes:
1.5-inch squares
2-inch squares
2.5-inch squares
2 x 3.5-inch bricks
2-inch strips less than 12 inches
2-inch strips greater than 12 inches
2.5-inch x 4.5-inch bricks
2.5-inch strips less than 12 inches
2.5-inch strips greater than 12 inches

Doesn't it wear you out, just looking at that list?! The bin in the previous picture was just for the 2.5-inch based strips. I had this other container for the 1.5 and 2-inch pieces. February was purple at ScrapHappy Saturday and I had just barely started on those.

Needless to say, I was feeling a bit overwhelmed and again, concerned about cutting up all the large scraps I had, that I might someday need...as large pieces, not tiny little scraps.

Then one day it occurred to me--I am NOT Bonnie Hunter (duh!) I don't use my fabrics like she does! Bonnie designs and makes quilts using lots of those pre-cut pieces and she makes most of her quilts very scrappy. I, on the other hand, am a very eclectic quilter, using a variety of techniques and styles. I don't usually go to my bins looking for a particular SIZE of fabric, but instead, I'm usually looking for a specific COLOR. And that's what I realized I should do--sort and store my scraps by COLOR.

I am now a happy quilter--and I have NO leftover scraps lying around, filling a container. This set of drawers contain blue/purple, green and black/gray scraps. On top is a somewhat larger bin for backgound/neutral scraps.

I buy muslin by the bolt and the leftover pieces have their own drawer. Then there's one for yellow/gold/orange/brown and one for reds/pinks.

I still have bins for 2.5-inch strips...but they're going to slowly integrate into my scrap bins.  I have a drawer for mixed colors (where there's no definite color that stands out) and one for 30's and themed fabrics. I also have a large drawer for batiks and one for reproduction fabrics--their scraps go right back in the drawer with the fabrics.

So there you have it--a scrap system that works for ME! Now the challenge is for you to come up with one that works for YOU! Because just as Bonnie Hunter's system didn't work for me, my system might not work for you. Look at the way you use your fabric and then store your scraps accordingly. Or, you can just throw them all in a laundry basket and dig through them whenever you need a specific piece of fabric! Whatever works!

My system is certainly not revolutionary (although it was for me!) and I'm sure many people simply store their scraps by color. But there are all kind of ways/systems for storing scraps. Please share how you store your scraps so we can all learn from each other.

Meanwhile, the day is still young and there's still time to Get More Done...Today!

Monday, April 1, 2013

Laura's Quilt is FINALLY DONE!

My daughter, Laura is my little side-kick that you can see with me in the "About Me" photo to the right. Laura is 26 years old, deaf and mentally "challenged." She functions on the level of a five-year old and we communicate with her using sign language. Whatever I do, Laura wants to do too! So she carries around her little stitchery projects to work on and she also sews on her little Elna sewing machine whenever I let her.

One of my goals for this quarter was to help Laura finish her little quilt. What I didn't expect was that the "little" quilt would end up becoming a twin bed-size quilt and that Laura would become a Quilt Monster! She wants to sew ALL the time! (Hmmm...wonder where she gets THAT from??!!) The only problem is, she can't really sew without some guidance. And trying to explain things in sign language gets a little frustrating at times! But...we've done it anyway!

Here's an example of some of Laura's sewing. A bit wonky, but she's getting better everyday. She initially sewed together many, MANY 2.5-inch strips into pairs that I then matched with other pairs and cut and pinned for Laura to sew into 4-patches. I also cut some black fabric that I had into 4.5-inch squares. Laura sewed her 4-patches, then sewed each 4-patch to a black square.

Eventually she sewed them all together into 14 rows of 17 squares! The rows were a bit wonky too and I had to trim them a bit before giving them to her (I pinned them at each seam) to sew together.

Laura's actually been getting the whole process down fairly well. I cut the pieces and pin them together, then she sews and presses them. And we do this over and OVER again! She was so excited to finally get the main body of her quilt finished Friday night!


Saturday morning she was up bright and early to sew the borders on her quilt. The entire top was put together by her, except that I sewed the border strips together. But she added them all to the quilt, after I pinned them. There were some places where the sewing was so bad, I had to have her rip out part of the seams and she was NOT happy about that (sounds like the rest of us!). Fortunately, she's gotten so much better that that didn't happen too often. And I'm always close by to try and guide her and keep her from making too many mistakes that she'll have to undo. Sometimes I even do the ripping for her!

She had the entire top finished by noon on Saturday and immediately began signing that she wanted me to quilt it! So the two of us made a quick trip to our LQS for some backing fabric. Fortunately, after we got home, some of her siblings and their children came over to have an Easter egg hunt, so I was able to get the quilt loaded onto the longarm frame and quilted without her hovering. Then I machine-stitched the binding to it. She came back into the studio, just as I was finishing. She was so tickled when she saw the label I had added. She can read a few words, but she easily recognized "Laura and Mom," on the label.

The two of us went outside to take some pictures of the finished quilt. Charles was in the shower, so we had to do it all by ourselves. I had her stand on the seat of the tractor and hung the quilt on the roll bar. The seat was a little unstable, so she wasn't comfortable holding the quilt out at arms' length (and the wind was blowing too).

Then I took a picture of the backing fabric--pizza bagels! It was a small LQS where we went to to buy it, but the closest to our house. They didn't have much that would go with the quilt (and we needed 6 yards), but Laura loves both bagels and pizza and it had a black background, so we decided it would work!

Of course, Laura's greatest goal was to get the quilt on her bed! So we put put it on there and took a picture of her posing with it. Unfortunately, it looks like now she's going to need a new pillow case and curtains to match her quilt!


Tuesday, March 26, 2013

Cosmos Quilt Finished!

For my March "Lovely Year of Finishes" project, I decided that I would complete the Cosmos quilt that my daughter-in-law had started some years ago. The blocks were pretty much finished and she had sewn almost half the rows together. I finished the rows, combined them, and then added borders. Finally I loaded it onto the quilt frame where it sat for a couple of weeks. Meanwhile I ordered some King Tut variegated thread in primary colors because I thought that would go really well with this quilt.

On Monday I got busy and quilted the whole thing with just a large overall meander. It didn't take very long (WHY do I procrastinate on these things?!) and then I machine stitched the first part of the binding. Then last night and today I finished the hand sewing of the binding and now I have another completed project!


Laura and Charles are holding the quilt up for me inside because it was too messy (muddy) outside to risk taking a quilt out there. You can just barely see the quilting on it in the black parts.

This was originally being made for my older son and he will get it if he still wants it (he was single when he asked for it, but he's since married). Otherwise it will go to the daughter-in-law who started it and who is married to my other son. Ironically it fits on our bed, but it's definitely not our style! Charles and I will both be happy it's going to one of our kids!

Sunday, March 24, 2013

Just Spoolin' Around

You know how it is in Blogland--you'll be reading someone's blog post and they'll mention something going on at a blog they're reading, so you go and check it out and the next thing you know, you're involved in a whole new project! That seems to happen to me all the time and just last week, through someone else, I found a great new paper-piecing site. Kristy at Quiet Play is hosting a paper-piecing block-of-the-month called "And Sew On." Each month she offers a free paper-pieced pattern related to sewing. After the month is over, the patterns are only available as a purchase on Craftsy. I missed her January and February blocks, but I like the whole project so much, I went ahead and bought them.

Here's my March block, one of this week's finished projects:

This block is called, "Just Spoolin' Around." It's actually got the smallest pieces of paper-pieced sections I've ever done . But I think it turned out okay and I'm linking it to Kristy's Linky party.

Wednesday, March 20, 2013

Stitch Me Up Blog Hop

It's FINALLY here! My very first time to actually participate in a blog hop and present something I have made! I've followed so many of the previous blog hops and figured it looked like so much fun that  it was time to start my own blog and join in with all the other talented ladies out there.

Before I begin, I want to thank Madame Samm who goes to so much behind-the-scenes effort to produce the blog hops for all of us. Many thanks and much appreciation, Madame Samm! I also want to extend a hand of thanks to Jane who has been encouraging us, giving us tips, hints and helping us to know just what we should be doing. Thanks, Jane! And finally, I want to thank Debbie and Cyndi (along with Madame Samm) for providing us with such a lovely array of embroidery projects to choose from--and that was quite the challenge!

Of course, a blog hop isn't complete without bloggers and bloggees (is there such a thing?!), so I invite you to take the time to visit each of the participating blogs with their projects today, along with all the others that were posted yesterday and those that will be posted for the remainder of the hop. I know I'll certainly be visiting them and seeing all the wonderful projects they'll be sharing. Today's bloggers are:


Janice@ That Other Blog
Angela@ That Other Blog
Get More Done Today  (You are here!)


So, without further ado...drum roll, please...

It was SO hard to choose a design and just as difficult to choose a project. I finally settled on a messenger bag, since I've been wanting to make one. And this particular embroidery design just seemed like the perfect fit. I should probably have taken pictures throughout the process, but I forgot in my enthusiasm to get this made.

We have a lovely little stone wall just outside my quilt studio and it's just the perfect place for taking outdoor pictures. But today was the first day of spring and when I looked out the window I saw FLOWERS--beautiful little blue Vincas!


So I had to go and take another picture among the pretty little flowers! Maybe spring is finally here!

Here's a closer view of the embroidery. I tried to capture the colors that were in the main body fabric of the bag and the floral embroidery design seemed to complement the paisley design in the fabric. I added a piped border to the embroidered flap to give it a more finished, professional look and I'm really pleased with how it turned out.

One of my daughters came by today and exclaimed so much over how pretty the bag is and how she REALLY needs a new bag--I think this may end up being her Easter present! I guess I'll just have to get busy and make myself another bag!

I've enjoyed sharing my project with you and hope you've enjoyed your visit! Have a wonderful day!

Saturday, March 16, 2013

WINNERS! and Weekly Review

Today Laura and I drew the names of our 3 winners for the giveaway of the Beat the Winter Blues Blog Hop Party--Linda, Erin and Mary Ann were the winners. All three have been notified and all three have responded and their fat quarters will be going out to them next week. Congratulations to each of you!

This has been an unusually crazy week--first of all, because of the blog hop and all the comments I needed to respond to--quite a time-consuming task, but lots of fun meeting so many new people and getting their great comments!

The other out-of-the-ordinary activity for this week was our pig butchering. We didn't raise the pig, a friend did and we didn't butcher the pig, a meat processing place did that. But we got 31 pounds of pork cubes one day that I had to figure out what to do with (I packaged and froze it, but put some in the crock pot for dinner-YUM!) Then yesterday we got all the frozen meat to put in the freezer and probably 15-20 pounds of lard. I ended up with 3 crock pots full of bubbling lard and when I was done I had rendered 9 quarts of the stuff. They say it's actually supposed to be good for you, so I hope they're right!

But let's get away from all that and get on to quilting!

I finally, FINALLY after about 3 years have this Martinsville Rose quilt completely finished! It's always such a relief to have a bed-size quilt done and ready to actually put ON the bed!

Since this week was busier than I had planned, the Cosmos quilt isn't finished, but I did piece the backing (probably my least favorite quilting activity!) and then got the whole thing loaded on the frame. I decided it would look good quilted with a multi-color thread, but I didn't have any. I ordered some from Superior Threads (a GREAT company!) probably on Monday and the package was here by Thursday or Friday--and that's without paying extra for expedited shipping! This is the project I promised to do this month for A Lovely Year of Finishes. Today is their mid-month check-in. I think I should be good to go on this one!

My embroidery project for the Stitch Me Up Embroidery Blog Hop is completely finished--such a relief! Be sure to visit all the blogs that will be presenting their projects those days--March 20th-26th. My day will be March 21st. This will be my very first "project" blog hop!

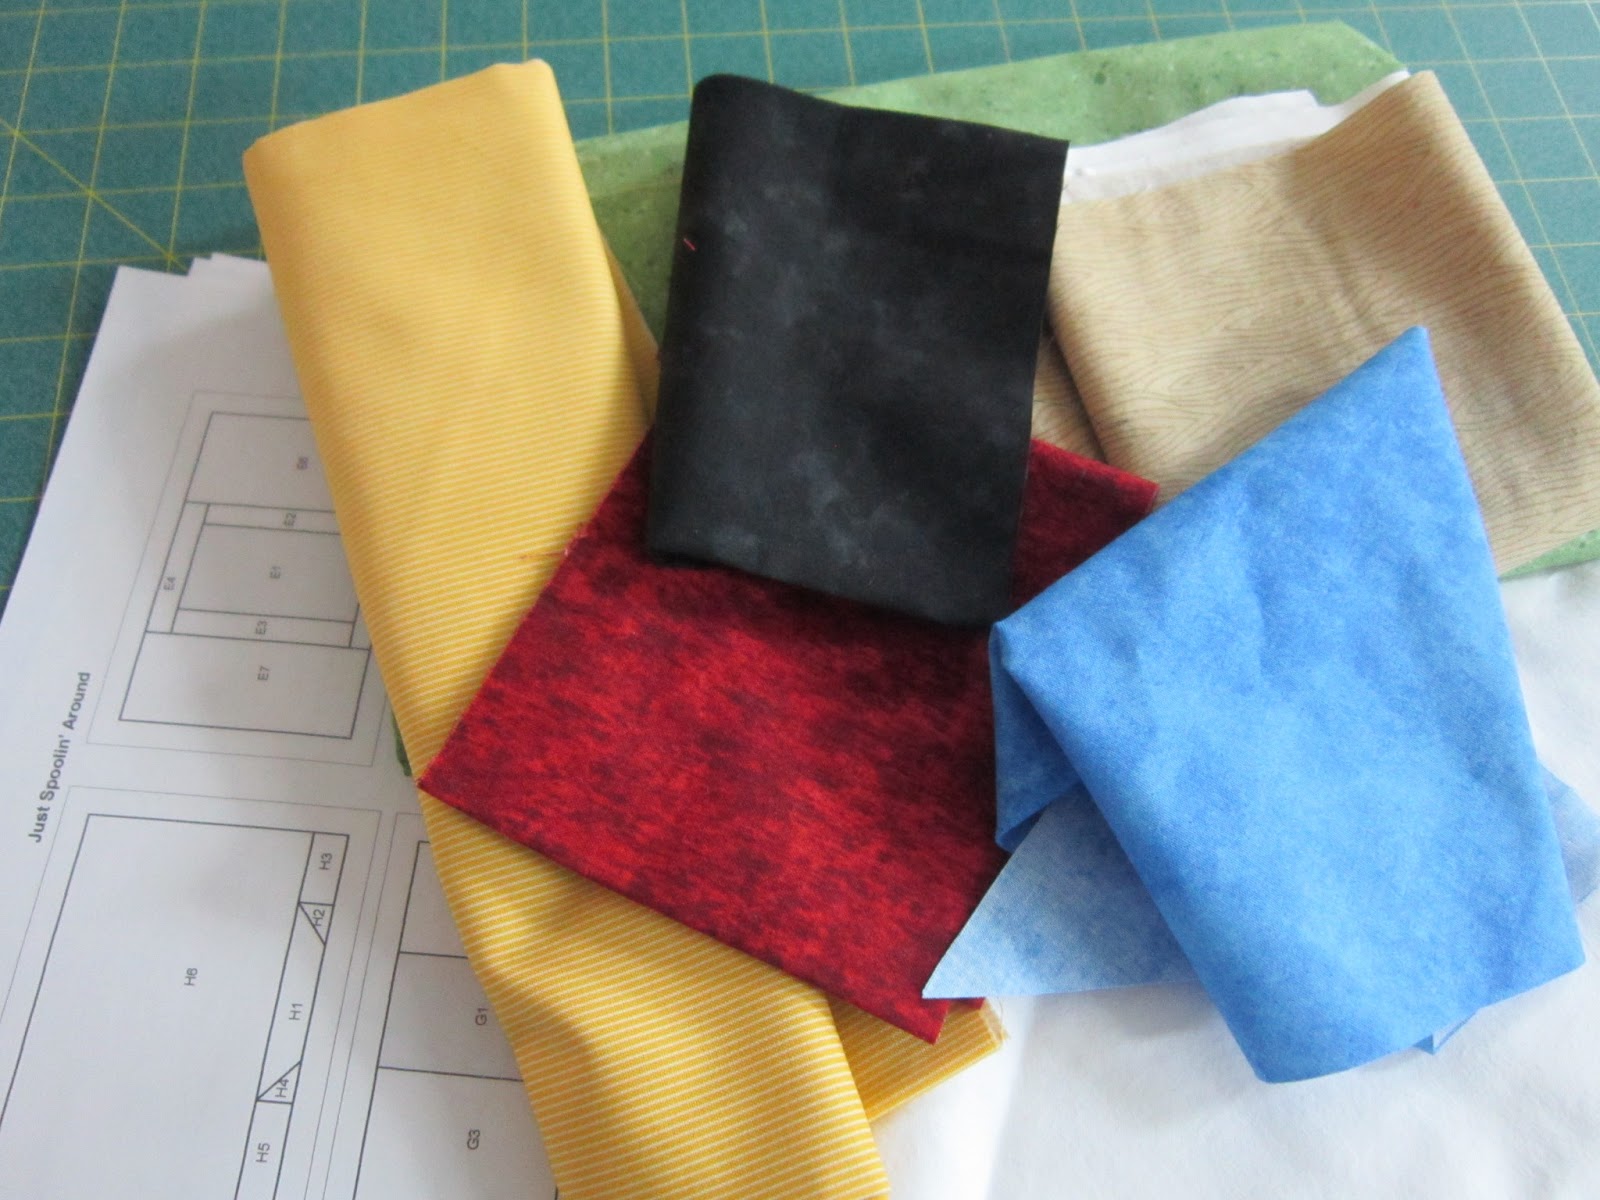
These are the pieces and the pattern for the March Small Ugly Quilt. See how ugly those pieces are! Supposedly once they're all put together in this small quilt, they won't look so ugly anymore! We'll see...


This is the front and back of the Superman pillow I made for my son-in-law. I decided that in the interest of time, I wasn't going to make anything fancy. I just used one fat quarter for the front of the pillow and two for the back with an envelope-type opening. I pinned it closed for the photo, but my daughter (his wife) has a snap press and I'm going to ask her to add some snaps to it. I DID make the pillow form--18" square and then made the cover of the Superman fabric so they can take it off and wash it when necessary.

I did NOT get the hand applique pillow made. I really need to get that done...

These are Laura's 4-patches, waiting to be sewn. I cut them out today and pinned them together until I ran out of her pins. She's very anxious for Monday to come so she can get busy! I'm sure she'll have them finished in no time and be ready for more!

My previous post was the one that I had planned about the evolution of my quilt studio. Writing that was rather time-consuming too, since I had to go back through all my files and find pictures from the past. But I'm so glad I did it--it's fun to see where I've been in comparison to where I am now.

This front piece is the only Easter fabric I own and I found those other pieces to coordinate with it. Now I need to figure out how I'm going to put them together for a mini wall hanging and a table runner!

So...all that was this last week's accomplishments. For next week, I hope to do the following:


  • Quilt, bind and finish the Cosmos quilt
  • Put together the top of the Small Ugly quilt
  • Make the pillow with that hand applique piece
  • Work with Laura in getting her 4-patches made
  • Come up with something Easter-y for a mini and table topper
  • Present my embroidery project in the blog hop on Thursday
  • Put together these two blocks from January and February from the Quilt Studio shop (and see about going and getting the March block)
  • Mary Ann (one of our winners) mentioned a monthly paper piecing project by Quiet Play: And Sew On that's super cute. I downloaded the project, found some fabrics that might work with it and hope to get it put together this week.
This was for the March block. After the month is over, the designer puts each block pattern up for sale on Craftsy. I like the project so much, I went ahead and bought the January and February blocks too. But I'm only going to try and get the March block done this week.

I think that will be enough to keep me busy this next week! Actually, most of these are fairly small projects, so I really hope to make progress on all of them, if I can't get them finished.

Another thing I've been trying to do is kind of "close up shop" in my quilt studio Saturday night. I usually don't sew on Sunday, except some hand projects (need that day of rest, you know!), so I want to get everything cleaned up and ready to go for first thing Monday. I clean and oil the machines we're using, rinse out and empty my iron, wipe down the cutting mats, dust, sweep, empty the trash, etc. It just makes it so nice to come in here on Monday morning and be able to go straight to work. Oh, and I also try to put all the fabrics, tools and projects away, but I usually do that at the end of EVERY day (at least, I TRY!)

So...how about YOU? What have you accomplished this week? And what do you hope to get done next week? Maybe next week, we can "Get More Done...Together!"


Wednesday, March 13, 2013

Quilt Studio Evolution

Before I begin the story of our quilt studio transformation, I want to go back further in time, to the days when my children were small and I did all my sewing in a corner of our dining room. Back then, I sewed with my children all around me, not just during their nap times. I discovered that children get used to your sewing equipment and tools and are less likely to get into things they shouldn't when they see them being used all the time. I have six children, and I never had any significant issues or problems with my children playing with my stuff (not that you shouldn't take precautions with things that are dangerous, because you definitely should!)

In fact, what happened instead is that most of my children grew up with an interest and a love for sewing--my two oldest girls sew (and quilt) very well, Laura (whom you've met) loves to do whatever I'm doing, and even one of my sons learned how to sew his own boxers when those were the rage. And now my grandchildren are continuing the tradition--including two of my grandSONS who are sewing regularly!

So, if you don't have a separate room in which to sew, just sew wherever you can and whenever you can and I think you'll find that your children or grandchildren will become interested in what you're doing and want to start doing it too!

The photo above is the room where I first did my quilting in this house. It isn't very small (12x18 feet) but it's down in the basement area with an outside wall and it gets COLD in the winter. We've even used it as an extra refrigerator when we've had large family dinners and needed extra space to store food! On the right side of the picture is a window that's been covered with an old quilt--you could feel a draft if you got too near it!

Here's the other side of that room. It also has French doors (probably part of the reason it's so cold) and my son had built a closet that wrapped one of the corners. I put wire shelving in there and that's where I stored my fabric.

Then I got my long arm quilt frame. The room I was sewing in was too small for it, since it's 12 feet wide, so we set it up in part of the basement family room, just inside the house from my quilt room. Behind the fridge on the left, you can just barely see the door that led into my sewing room. The long arm frame is on the right. Because I got so cold, I slowly began moving all my sewing furniture into the family room. It was certainly big enough. I think it's about 50 feet long!

It actually worked very well when I had friends from church over to sew, because we had lots of room to spread out and work on our quilts. I'm sitting over on the left and the window you see looks right into my former sewing room--it was actually an addition on the back of our house, long before we ever moved here.

The family room has baseboard heat and it became more and more expensive to keep it warm. But there were other problems in using it for a quilt studio, such as:

(My daughter is on the far left and my son is on the far right, Laura is in red in the middle.)
...young people needing a place to hang out. My kids and their friends tend to gather here, playing games, baking, playing Guitar Hero, etc. since we've got so much space and the family room is where it all happens.

...And family gatherings happen here too! We celebrate Christmas, birthdays, other holidays and hold regular family dinners--right in the middle of all my quilting stuff! We even used my cutting table as a food buffet! So, as you can see, I REALLY needed a different space to sew!

My husband (whom I dearly love) has only one major fault--he's a pack rat! He's also an Amateur Radio Operator or "Ham" and at one time he had set up some equipment in the workshop. Eventually he moved to a different room in the house, but a LOT of his stuff stayed behind...and he brought in more stuff...and MORE stuff! This room was so bad at one time that you couldn't easily walk from the door on one side to the door on the other! I had gradually been decluttering this room, setting a timer for 15 minutes a couple of days a week. I just wanted it cleaned up and useable; I didn't have a specific plan for it. I had been doing this for a year or two before these pictures were taken.

Then one day it just HIT me--this room would work as a QUILT STUDIO!!! I immediately went and got the tape measure and started taking measurements. I found out that my long arm frame would fit, along with all my other sewing furniture! Boy, was I excited! BUT...and this was a HUGE "but," I knew I would somehow have to sell Charles on the idea and I knew that it wouldn't be easy.

However, before I talked to my husband, I did what all the goal-setting programs out there tell you to do--I stood in that workshop, looking like you see it here, and I VISUALIZED it as my quilt studio. I looked at the floors, walls, doors, ceilings and pictured them in my mind the way I wanted them to be. I IMAGINED how it would look with all my quilting furniture and equipment in there. (And I have to admit, I PRAYED a lot too!) And it all worked--Charles came around and we began working together on this project--it actually ended up being a great bonding experience for the two of us!

One of the biggest hurdles was doing something about all the junk in there. Somehow (I'm still not quite sure how I did it!) I was able to find other places to put things. A LOT of stuff went to the dump (Charles knows, but we don't talk about it!) There are still some things just sitting out back of the house, but the room was cleared, and that I did mostly by myself.

We did much of the work ourselves, with Charles being the one with the skills and me assisting as his helper. Our first task was to replace the old wooden window with a new one.

For some reason, this photo wouldn't come through upright, even after I edited it, so you'll have to look at it sideways! Charles is very knowledgeable about electrical work and he rewired every outlet in the room, moving those that I wanted moved and adding extras where I wanted them. All the old insulation made breathing really difficult for him, so he had to wear a mask whenever he was working in there.

All of the electrical and phone panels are on the wall in this room and I had wondered how we would cover them up. Charles came up with the great idea to build a closet around that section of wall. At first I wasn't too thrilled about it, but now I'm so glad we did--it's wonderful to have a closet to store stuff, like rolls of batting and extra supplies! (Now I just need to get it organized!) He and a friend were able to quickly frame the closet one morning.

We hired the son of a friend who does great drywall work, to do the walls and ceiling. We used "green board" on the bottom of the room because we've occasionally had water on the floor in there during very heavy rains (but we think/hope we've fixed that problem!)


After the drywall work was done, I got busy doing all the painting in the room--two coats of primer on walls and ceiling, followed by two coats of regular paint. We thought it might be a while before we got the flooring, so I started moving in--I was anxious to start using my new space! But I wasn't there for long before I had to move everything back out again.

For lighting, we looked at fluorescent light fixtures at Home Depot and Lowes and the quality we wanted just wasn't there. So we ended up going to an electrical supply business where we bought six commercial grade fluorescent light fixtures. We have a set of three on each side of the room and Charles wired them so that I can switch on the ones on the long arm side of the room separately from the ones on the sewing side of the room. He also suggested adding a ceiling fan/light fixture for the center of the room and we did that too. It's been wonderful having such a handy husband!

We paid our two sons to come and lay the flooring for us--we're both getting a bit too old to do all that heavy knee-work and getting up and down is really tough. We kept supplying the planks while the boys put them in place. We used a kind of wood laminate flooring that's resistant to moisture. It wasn't difficult to install and they had it done in an evening, even with taking time out to eat some pizza!

After the flooring, all that was left was to finish trimming around the floor and the doors. Then I was able to move in and start sewing!
That brings us to where we are today--sewing and quilting in a lovely finished studio!
In another post I'll give you a tour of