Wednesday, February 6, 2013

WIP Wednesday and Egg Money Blocks

The exciting news for me today is that I've finally made all 12 blocks for my mom's Egg Money quilt. Since her 80th birthday is March 24th, and I plan to add a scalloped border, this is none too soon! Here are the 12 blocks. I still need to add sashing, then choose fabric for borders. I think this is as much as I'll get done this week, so I can move on to other projects for a few days. Here's what happened with the last 3 blocks:

This is part of the Friendship block. It's actually quite easy to put together and is often used in quilts to be autographed. However, as I was putting it together, I realized that a mighty big chunk of fabric was being cut away. In the past I would have just tossed those pieces, but instead, I decided to sew them together to make some little half-square triangles.
I ended up with this little pile of 32 1.5-inch half-square triangles! I think they're so cute, but I really have no
idea of what I'm going to do with them!
And here's the finished Friendship block.
 
This is the Christian Cross or Chimney Sweep block. It was also quite simple to make. In fact, all three of these last few blocks were much easier than some of the previous ones. No set-in seams today!

This was the last one, the Garden Walk block or Garden Patch or Bird of Paradise. Eleanor Burns has some examples of whole quilts made out of this block that are just beautiful! I may have to go back and make one someday.

It was such a relief to get those blocks finished. Meanwhile, last night, I sewed together the blocks for my Martinsville quilt. Some friends and I are each putting one of these together and I'm trying to stay a step ahead of them so I can help them with theirs. They'll be here Tuesday night and we'll put theirs together. I need to choose and add borders to this.


I finished quilting my Modern Twist Mystery quilt and now all that's left is to hand-stitch the binding. I'm looking forward to some t.v. time while I work on this!

I think that I've done enough for today. Time for me to leave my quilting studio and go upstairs for some family time. Until then, I'll plan to get more done...tomorrow!

I'm linking with WIP Wednesday at Freshly Pieced


Tuesday, February 5, 2013

More Triple-Zips and a Tip!

I have almost 12 grandchildren and I usually send them money for their birthdays. I'm always looking for creative ways to give it to them. My oldest grandson's birthday is this week and as I was making my first triple-zip pouches, I realized that they would make great money holders for the birthday kids! So I got busy this morning and whipped up this one for my airplane-loving grandson. The top picture is the front and the bottom one is the back.

Obviously, the pieces were fussy-cut to get those planes placed just right. But the front and backs also had to be cut separately and then sewn together at the bottom. I goofed at first and just cut the outside piece in half (with added seam allowances). But when I went to put it together I realized that the back is bigger than the front, so I had to re-cut those pieces.

The original pattern calls for an 8-inch width, but I wanted this one a bit wider to be able to hold pencils so I made it 9 inches wide. I also cut the fusible batting one inch shorter than the outside pieces. It still has that sturdy appearance the batting gives, but without all the bulk in the seams. I also cut the largest lining just 1/2-inch shorter, so it doesn't bunch up in the bottom of the pouch.

 So...with all that said, on to my tip! First of all, I have to admit that this tip is not original with me. I read it in a quilting magazine recently, but I don't remember which one. However, I tried what they suggested and found that it worked, and that's why I'm sharing it here.

I have a rotary cutter for cutting paper that's entirely different from the ones I use to cut fabric. As you can see, it's labeled, "Paper," but it makes it much easier to grab the right one since it doesn't even look the same. I save my used blades and put them in this cutter until they won't even cut paper, then I toss them.
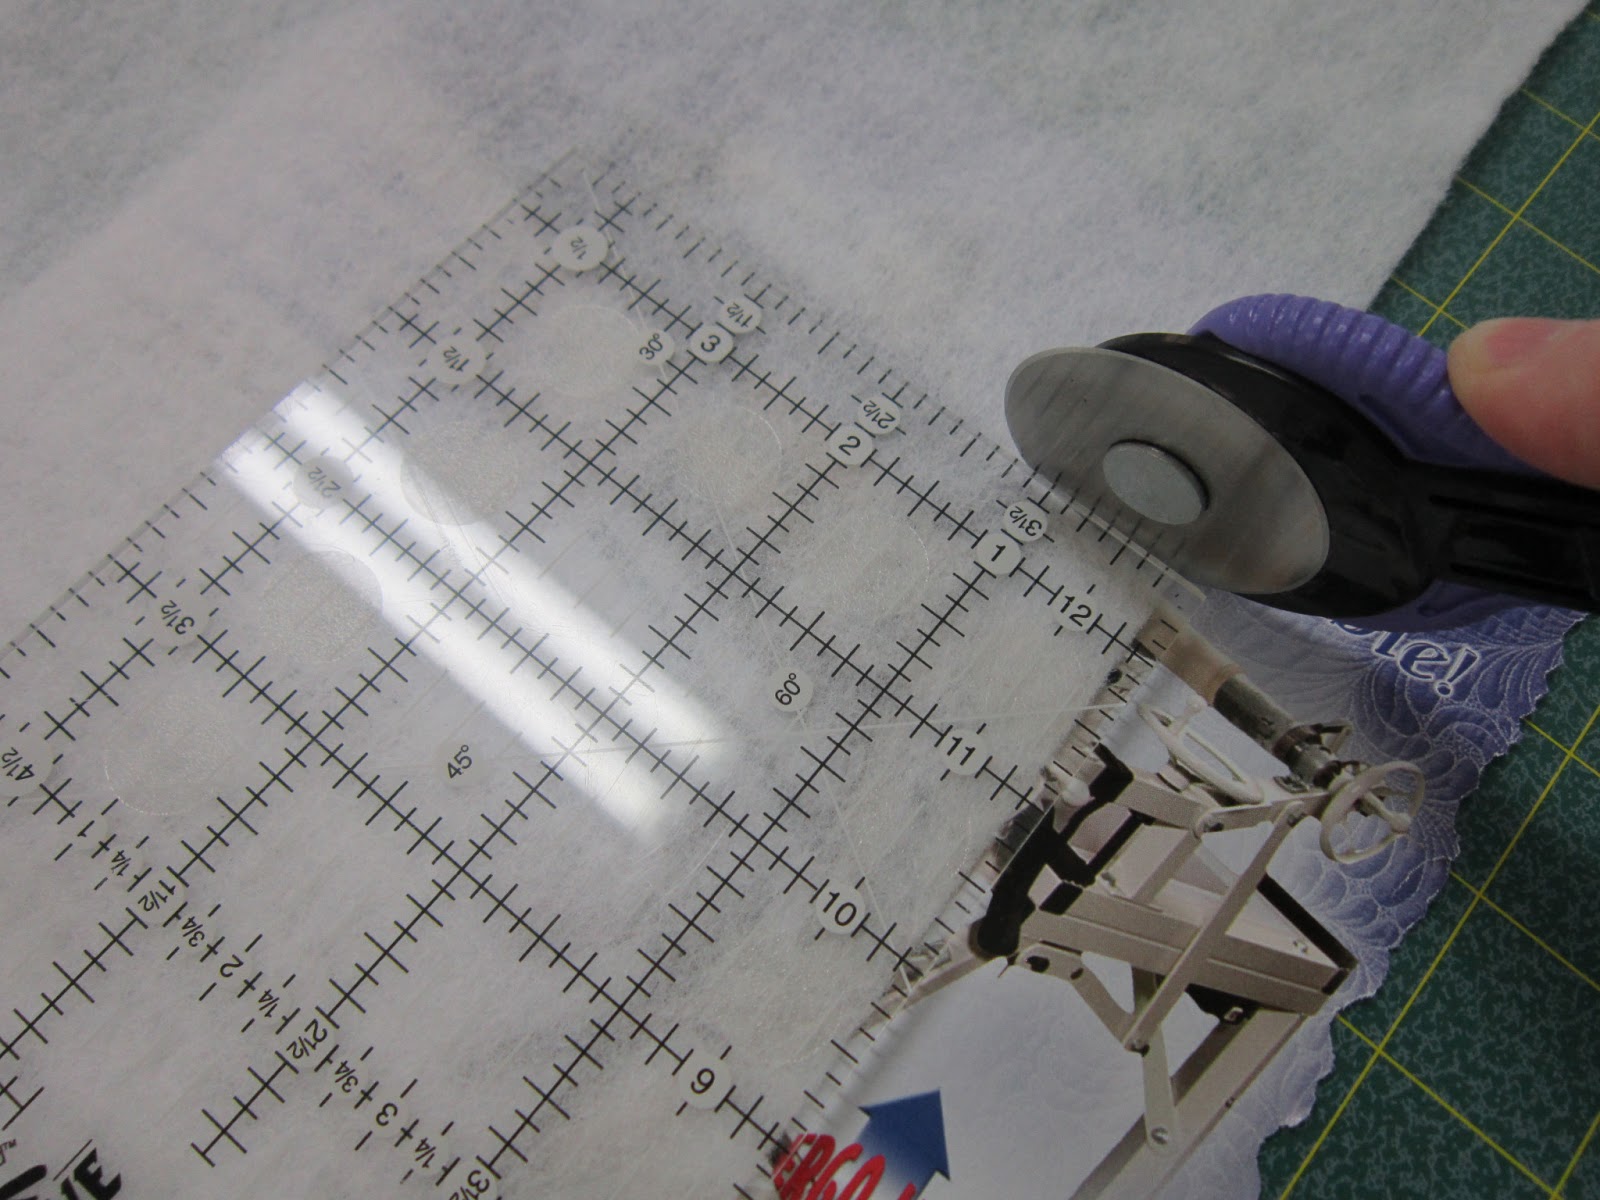
With the triple-zip pouches I've been making lately, I've been cutting quite a bit of fusible batting and I was getting frustrated that the cut pieces would stick to my cutting mat and then leave lots of little "fuzzies" behind when I pulled them up. The tip I read said to put a piece of paper underneath the batting when you cut it. So yesterday as I was getting ready to cut more batting, I looked around my studio for a piece of paper. I didn't see any paper, but I DID see old quilt magazines. I ripped out an ad page from a magazine, laid my batting on it and cut--NO fuzzies! I was thrilled! Obviously any paper would do, but what a great way to recycle some of those old magazines that you no longer want. Try it--you'll like it!

I'm linking with Connie at Freemotion by the River and Fabric Tuesday.

Saturday, February 2, 2013

ScrapHappy Purple and Triple-Zip Pouches

It's ScrapHappy Saturday over at soscrappy. Each month she focuses on a different color for the Rainbow Scrap Challenge, and each Saturday everyone links up with projects made with that color. Last month the color was pink and all I accomplished (which was actually a LOT) was to press, cut up and organize all my pink scraps. This month, February, the color is purple. I didn't think I had many purple scraps until I went digging through my scrap basket. As you can see from the photo, I actually have quite a few! So then the dilemma was "WHAT purple quilty thing can I make?"


Well...I'm also participating in the Lucky Stars BOM and I'd just gotten the instructions for my February block. So I figured I could just kill two birds with one stone--get my February block made, and make it with PURPLE scraps--what a GREAT idea! So that's what I did and here it is. It actually looks significantly better in real life. I'm thinking I might make it into a cover for one of my sewing machines, so with that in mind, I added more purple--a purple border. Maybe it will have morphed into something new by next week and I can show off the finished product.
I've also joined in with the Triple Zip-Along over at A Quilter's Table. Debbie is sponsoring a Flickr group with the challenge of making these really cute pouches, with three zippers.
I made two today, the first one was for Laura and I messed up a bit on the final (and most challenging) step. The top corners didn't get sewn up quite all the way. Even she noticed there was something wrong, but at that point, I wasn't going to take it apart and redo it. And in spite of the goof, she quickly filled it with several of her little treasures.
So then I made another one, for me! And this one turned out much better, although those top corners are a bit of a challenge. However, it was worth it to make it because they're so cute and useful, and except for those corners, easy and quick to make.

After linking to Can I Get a Whoop Whoop, I think that will be all I'm going to do in my quilt studio today, other than cleaning the major mess that has developed while I've been working in here. Time to go practice piano and plan my goals for next week.


Friday, February 1, 2013

My Life...in Stitches

There's a new linky out there and I thought I would jump on the bandwagon and participate. It's called  Sew Thinky Thursday over at Mommy's Nap Time. Each week she'll have a sewing related question for you to answer about your life. This week's question is:

When did you start sewing? Tell us a bit about your sewing history. When did you realize you were really hooked? 

So, I thought I would answer about my sewing history. It all began long, long ago...Actually I think it really started when I was 14 and since that was more than 40 years ago, it HAS been a while! I took a Home Ec class at a backwoods sort-of country school and everyone was sewing away without much in the way of instruction when we moved there. I just jumped in with everyone else and started my first project--a dress with set-in sleeves and a zipper!

Of course, we had to provide our own materials and our family didn't have much in the way of money, but my mom DID have some old feed sacks that my grandmother had saved from the feed for their chickens (if only I knew then about feed sacks what I know now!) With some guidance and help from my mom, I made that first dress and it turned out well enough that I actually wore it and was proud of it. I would love to have a picture of it now!

My Children--all wearing homemade clothes
It didn't take me long to realize that in a family of hand-me-down clothing, if I could make my own, I would actually have NEW clothes to wear! So I saved up my babysitting money, bought fabric and started sewing in earnest. I eventually even saved up and bought my own used sewing machine. I made many of my clothes as a teenager and continued sewing for years, especially once I had children. I found that they could have really nice clothes (and even be "matchy-matchy") for much less if I made them myself.

However, kids grow up and homemade clothes aren't so cool, so I stopped doing much sewing and found other interests. I never had done any real quilting, other than some simple pieced, tied quilts for the kids, but it was something I was always intrigued by, especially since I had a friend who was an incredible quilter and made some awesome stuff.

Fast forward to the past ten or so years. I decided I wanted to try my hand at quilting and I found a book with patterns for some hot pads. I thought it would be good to start with something simple. I don't know what the book was or where it is, but these were NOT simple to make. I remember them as being tedious and time-consuming, using templates and scissors (at that time, I didn't know any better!) We use these hot pads fairly regularly (pardon the "used" appearance), so I liked how they turned out, but I decided that quilting was just too much work and put my sewing machine away.

Then about seven years ago, my father-in-law had a heart attack, from which he subsequently died. When he went into the hospital, we brought my mother-in-law home to live with us. Marzee was 87 years old and had dementia and needed a caregiver--me! At some point, I began retreating to the basement for some personal time, but realized I needed something to do. I picked up a 2007 Quilting Block and Pattern-a-Day Calendar at the bookstore and thought that the instructions looked fairly easy, so I brought it home and got to work. 
This was more how I envisioned quilting should be! I made the Heavenly Stars quilt and it was a great learning experience--I learned how to quilt in a way that was easy and fun and I was HOOKED!

I've made many, many more quilts since that first project and I've even gotten a used longarm machine so that I can experience creating a quilt from start to finish.

A New Month...A Fresh Start

My mom's 80th birthday isn't until March 24th, but I really want to get her quilt finished long before then (procrastination gets me too stressed!) So for this month's Lovely Year of Finishes I decided that this would be my project of choice. I'm sure (I KNOW) I'll be working on other projects, but this is certainly my most important one.

I have nine of the 12 blocks finished, so that means 3 more blocks to piece. Then I have to add sashing and cornerstones and two borders. The final border is going to be quite wide (10 inches?) and will be scalloped, which is something I've never done before, so wish me luck! And then of course, the whole thing will need to be quilted and bound, which with those scallops, may be a bit of a challenge. So, time to get busy...and get more done...today!

Thursday, January 31, 2013

Getting Ready to Start a New Month

Today is the last day of January and I've gotten more done than I truly anticipated I would have. I completely started and finished my Winter's Night mystery quilt, I just need some kind of quilt hanger to put it on the wall. Any ideas?? I also finished piecing, quilting and binding my Easy Street quilt--that one was a MAJOR project! I made a cute little snowman wall hanging for my quilt studio and I put together an armchair book holder/saddlebag, along with a little quick and easy mini table topper. Those were my finished projects.

As far as ongoing projects, I have finally sewn together the top for a full-size scrappy quilt and I've also gotten busy and sewn some bee signature blocks together that have been waiting about 3 years. Another 3-year old project is a quilt some friends and I did as a block-of-the-month--we call it the Martinsville quilt. The blocks have been done, but now I've made templates and cut out the filler blocks so they can all be sewn together. I've had kits made up for the blocks for an Egg Money quilt and decided I would put it together for my mom for her 80th birthday in March and I've gotten 9 of the 12 blocks made this month. I have two hand-stitchery projects that needed some piecing to be completed and I made the Dresden plates that both of them called for. One still needs some other blocks added to it, but the other one is ready for some simple hand quilting and it will be done.

Then there are the projects that I started this month (I just can't help myself...and thanks to the 2013 New FO Challenge, it's actually a good thing!) I made my Modern Twist quilt top as a New Year's mystery quilt and it is now on the frame and will be quilted (and hopefully, bound and finished) before the week is out. I'm participating in the Lucky Stars Block of the Month and I just jumped in on the Triple-Zip Along today. I've also got my pattern to start working on the Country Charmer Quilt Along; I'm still in the process of choosing fabrics. Oh, and I also signed up to participate in the Stitch Me Up Embroidery Blog Hop for March (my very first Blog Hop!) So that's where I am right now...

I was too late last month to participate in the Get It Done Challenge for the month of January, so this post is for my February goals. And they are:

1) Finish the Egg Money quilt for my mom--complete last 3 blocks, 
add sashing and borders, then quilt and bind.


2) Quilt and bind the Modern Twist quilt that's currently on the frame. (The photo below is my Scrappy quilt that's laid out on the longarm, NOT ready for quilting!)


3) Quilt and bind my Scrappy quilt (involves piecing the backing and the binding). 

4) Complete at least one embroidery piece for the Blog Hop (some serious decision-making involved in this one! Click on sidebar button for info)


5) Sew blocks together for Martinsville quilt, add borders, quilt and bind.
6) Quilt and bind the Bee Block wall hanging.
7) Make at least 2 of the Triple-Zip bags.

8) Get caught up to date on Country Charmer progress and post to Linky party

So...those are the things that I plan to get done for the month of February. I know that those are actually 8 things and not 4, but I really think I can do them all. I'm certainly going to try, anyway!

Oh, there's actually one more. I really want a little mini wall hanging for my quilt studio for each month/holiday and so far I only have one for December and one for January. I've been looking for ideas and have found some I really like. So I plan to put something together to hang up for Valentines Day...and then, of course, I'll be looking for more ideas for March!

I'm linking up with Lily's Quilts and her Fresh Sewing Day.

Wednesday, January 30, 2013

Egg Money Progress


It's been a L-O-N-G day in the quilt studio today. I've been working on Eleanor Burns' Egg Money quilt, to give my mom for her 80th birthday in March. There are 12 blocks in the version that I'm doing and I set a goal for myself to do 3 blocks each week. Last night I started the first block for this week, and I finished it today, along with 2 others. These are the blocks on my design wall.
The Double Wedding Ring is this one and it's the one I started last night. It really wasn't too difficult, using Eleanor Burns' method with the preprinted fusible interfacing. My biggest challenge was choosing a fabric to frame the block. I really wanted to use a yellow, but I didn't have any others that I liked and I've also already framed two other blocks with yellows. I'm going to a quilt shop tomorrow and I may find something different that I like better, but for now, this pink will have to do.

This is the Rocky Road to Kansas block and the big challenge with it was the set-in seams between each of the scrappy pieces. I really had to press it good to make it lay flat, but it actually turned out okay.
I'm going through the book in order and it seems that the blocks each get a bit more challenging. This is the Peony block and it wasn't HARD to do, just time-consuming. The flower stems are hand-appliqued (which I don't mind doing--I actually love hand applique, but I'm in a hurry here!) and the leaves are stuffed with batting and then topstitched.

Now I just have 3 more blocks to go, but those are on next week's agenda. I have the Modern Twist mystery quilt on my frame, ready to be quilted and there are some other projects I want to do this week. But for tonight...I'm DONE! And I'll just plan to get more done...tomorrow!